Ingredients
- Crust Layer:
2 cups graham cracker crumbs (or plain cookie crumbs)
1/2 cup (1 stick) melted butter
2 tablespoons sugar - Cream Cheese Layer:
8 oz cream cheese (softened to room temperature)
1 cup powdered sugar
1 heavy whipping cream (whipped) - Red Jell-O Layer:
2 boxes strawberry or raspberry Jell-O
2 cups boiling water
1.5 cups cold water - Green Layer (Jell-O Mousse):
1 box lime or green apple Jell-O
1 cup boiling water
1 cup whipped cream - Topping & Garnish:
Whipped topping (for covering the surface)
Red and green M&M’s
Holiday sprinkles
Step-by-Step Instructions
- Make the Crust:
In a bowl, mix the graham cracker crumbs, melted butter, and sugar until it resembles wet sand. Press the mixture evenly into the bottom of a glass baking dish (Pyrex), and place it in the refrigerator to chill and set. - Make the Cream Cheese Layer:
Using an electric mixer, beat the cream cheese and powdered sugar until smooth and creamy. Gently fold in the whipped cream. Spread this mixture evenly over the chilled crust and return it to the refrigerator. - Create the Red Jell-O Layer:
Add the cold water after dissolving the red Jell-O in the boiling water. Pour it gently over the cream cheese layer after allowing it to cool somewhat (without setting). Before serving, chill for at least an hour to allow the red layer to solidify. - Form the green stratum:
Allow the green Jell-O to cool after dissolving it in boiling water. Whip it with the cream to produce a light green mousse texture. Refrigerate again after pouring this carefully over the set crimson Jell-O layer. - Final Topping & Garnish:
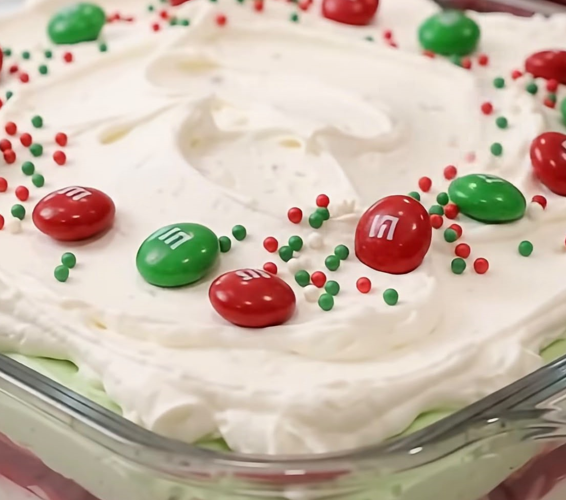
Apply a generous amount of whipped topping to the whole surface after it has fully chilled and set. For that classic Christmas aesthetic, adorn with vibrant red and green M&M’s and festive sprinkles. - Serve:
Enjoy this colorful and celebratory layered dessert by cutting it into neat square pieces!
- Layered Christmas Jello Salad with Whipped Topping
- Slow Cooker Cheesy Potato Soup
- Christmas Spritz Cookies Buttery Chocolate Drizzled Christmas Cookies
- Shortbread Butter Cookies
- low Cooker 4 Ingredient Steakhouse Baked Potatoes